Gluten free baking mixes

I usually don’t bother with pre-mixed packets of cake or bread as I feel you are paying a premium just to save the effort of weighing ingredients out (a job I actually enjoy doing!) but with a gluten free friend coming to stay over Christmas I decided it might be worth giving them a shot – otherwise I tend to buy in lots of gluten free flour etc that mostly gets wasted.

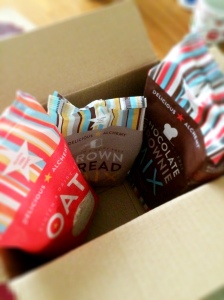
I found a fairly local company called Delicious Alchemy and decided to order a few things online in advance of the visit: Gluten Free Products by Delicious Alchemy – buy online.

delicious alchemy

delicious alchemy

First up: gluten free oats. This may sound strange as oats are naturally gluten free, however the way they are processed and packaged can cause contamination and my friend has found she cannot eat normal oats. These gluten free ones however were fine for her, which meant we could make delicious porridge, muesli and flapjack – so that was breakfast sorted!

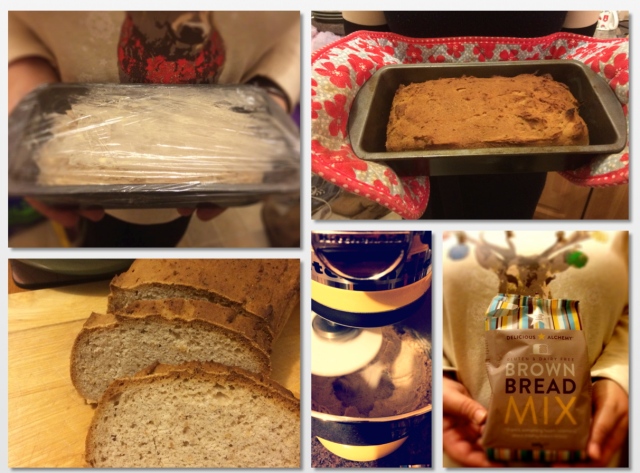
Next we tried the bread mix:

gluten free bread

gluten free bread

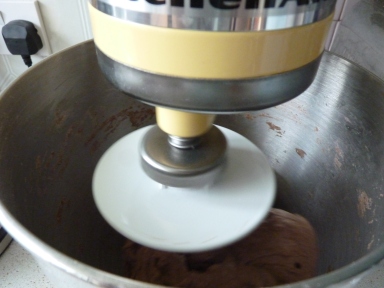
The instructions were clear and easy to follow, and with the help of my trusty kitchenaid also fairly quick, although you could knead the mix by hand otherwise. As you can see the mix does not rise very much, but this is typical of gluten free baking so don’t worry about that. In terms of taste and texture my friend assures me this bread is perfectly normal and ends up quite similar to the packaged gluten free bread found in the supermarket. For me this let it down a bit, as I had hoped it would taste a little moister and fresher than those pre-packaged breads – but it was fun to make! A word of warning if you haven’t eaten gluten free bread before ( as I hadn’t), it is a very different beast to ‘normal’ bread so you may need to amend your expectations!

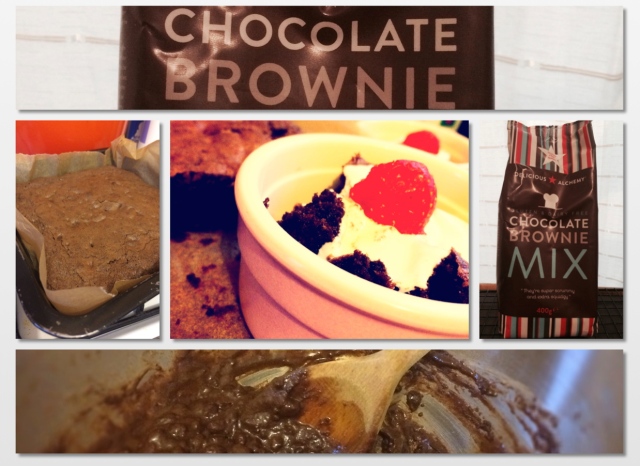
Finally we played with the final package that I had most been looking forward to – the brownie mix!

gluten free brownies

gluten free brownies

To be fair you can’t really go wrong with brownies, and its not hard to make them gluten free from scratch. However if someone isn’t a keen baker this certainly makes it a lot easier, with no faffing around remembering to buy all the ingredients. The instructions were clear, it was quick to make and tasted delicious (especially with some cream and raspberries on top!). It was much nicer and gooey-ier than the shop bought gluten free brownies so certainly worth a try.

(all photo credits miss suzylee)
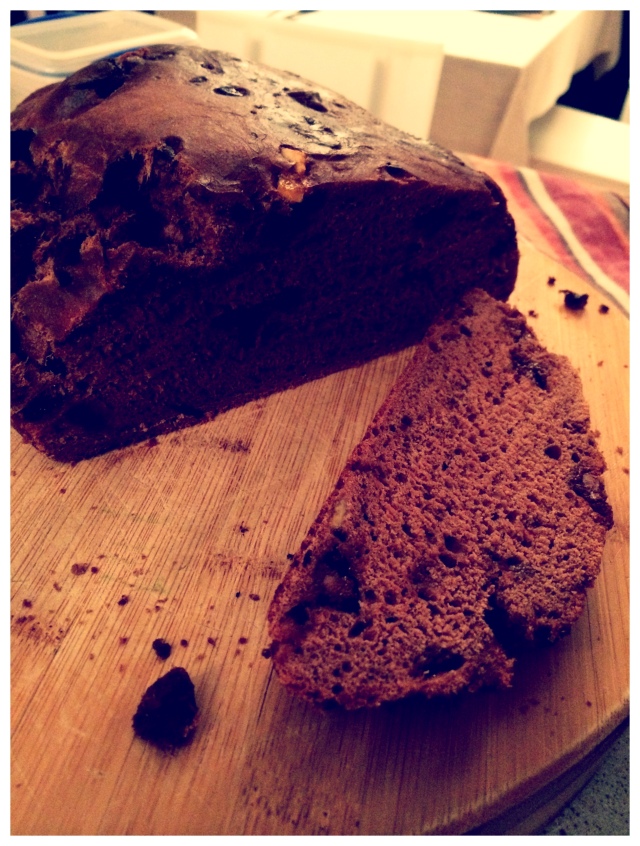
Chocolate, chilli and lime bread

Chocolate bread

Chocolate bread

Okay first of all, in the words of Douglas Adams – don’t panic! Potentially scary sounding recipe, but its actually really simple and the flavours are quite subtle – they just give it a bit of a fresh kick.

Miss Suzylee’s Chocolate, Chilli and Lime Bread

Ingredients:

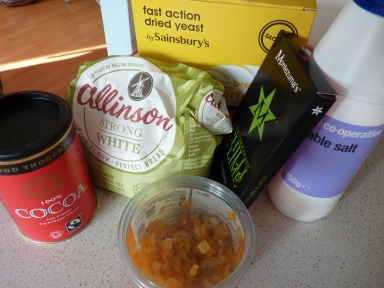
500 g strong white bread flour

25 g cocoa powder

25 g butter

1 and a half tea spoons of fast action dried yeast

1 and a half tbsp caster sugar

1 tea spoon salt

100g milk chocolate, chopped (for these flavours use Montezuma’s Chilli and Lime milk chocolate bar (Montezuma’s Direct Ltd.)

grated rind of an orange, or a sprinkling of cut mixed peel from a tub

2 tbsp milk

315 ml cold water

Chocolate bread ingredients

Chocolate bread ingredients

Method:

1. Sift the flour and cocoa powder into a large mixing bowl and rub in the butter. Add the yeast, sugar, salt, chocolate and orange rind and mix together well.

2. Add the milk and water and mix to a dough – this may be pretty sticky…

3. EITHER knead for 5 minutes using a kitchen mixer with a dough hook (see picture below) OR turn onto a lightly floured surface and knead by hand for 10 minutes. Having tried to do this by hand I can confirm it gives slightly better results, but my elbows ached for days afterwards so I will be sticking to the mixer method for now!

Mixing dough

Mixing dough

4. Shape the dough as required (I left mine pretty much free form) and place on a well greased baking tray. Cover loosely with lightly oiled cling film ( you do need to oil it or it will stick to the dough) and leave somewhere warm to double in size, which may take 30 – 40 minutes.

5. Uncover, and bake in a pre-heated oven at 220 degrees c/ gas mark 7 for 25 – 30 minutes.

6. Carefully remove from the oven and cool on a wire rack. Then slice and eat away!

This is best eaten within a couple of days, enjoy it with a cup of tea or coffee.

You can vary the flavours as much as you want simply by using different flavoured chocolate, Montezuma do a whole range although some flavours may be too subtle for this.

Chocolate Orange Bread

For a simple chocolate orange bread, simply use ordinary milk chocolate rather than a flavoured one, together with the orange rind.

(all photo credits miss suzylee)